

Public lighting
Road lighting
A road is lit for what happens on it: junctions, slip roads, accesses and the continuity of the route. The project starts from the road, not from the catalogue.
The starting point
The road sets the pace.
Before choosing a luminaire, the project reads the alignment, the junctions and the verges. Light is distributed over that geometry, not over a picture.
- Route
- Junctions
- Maintenance
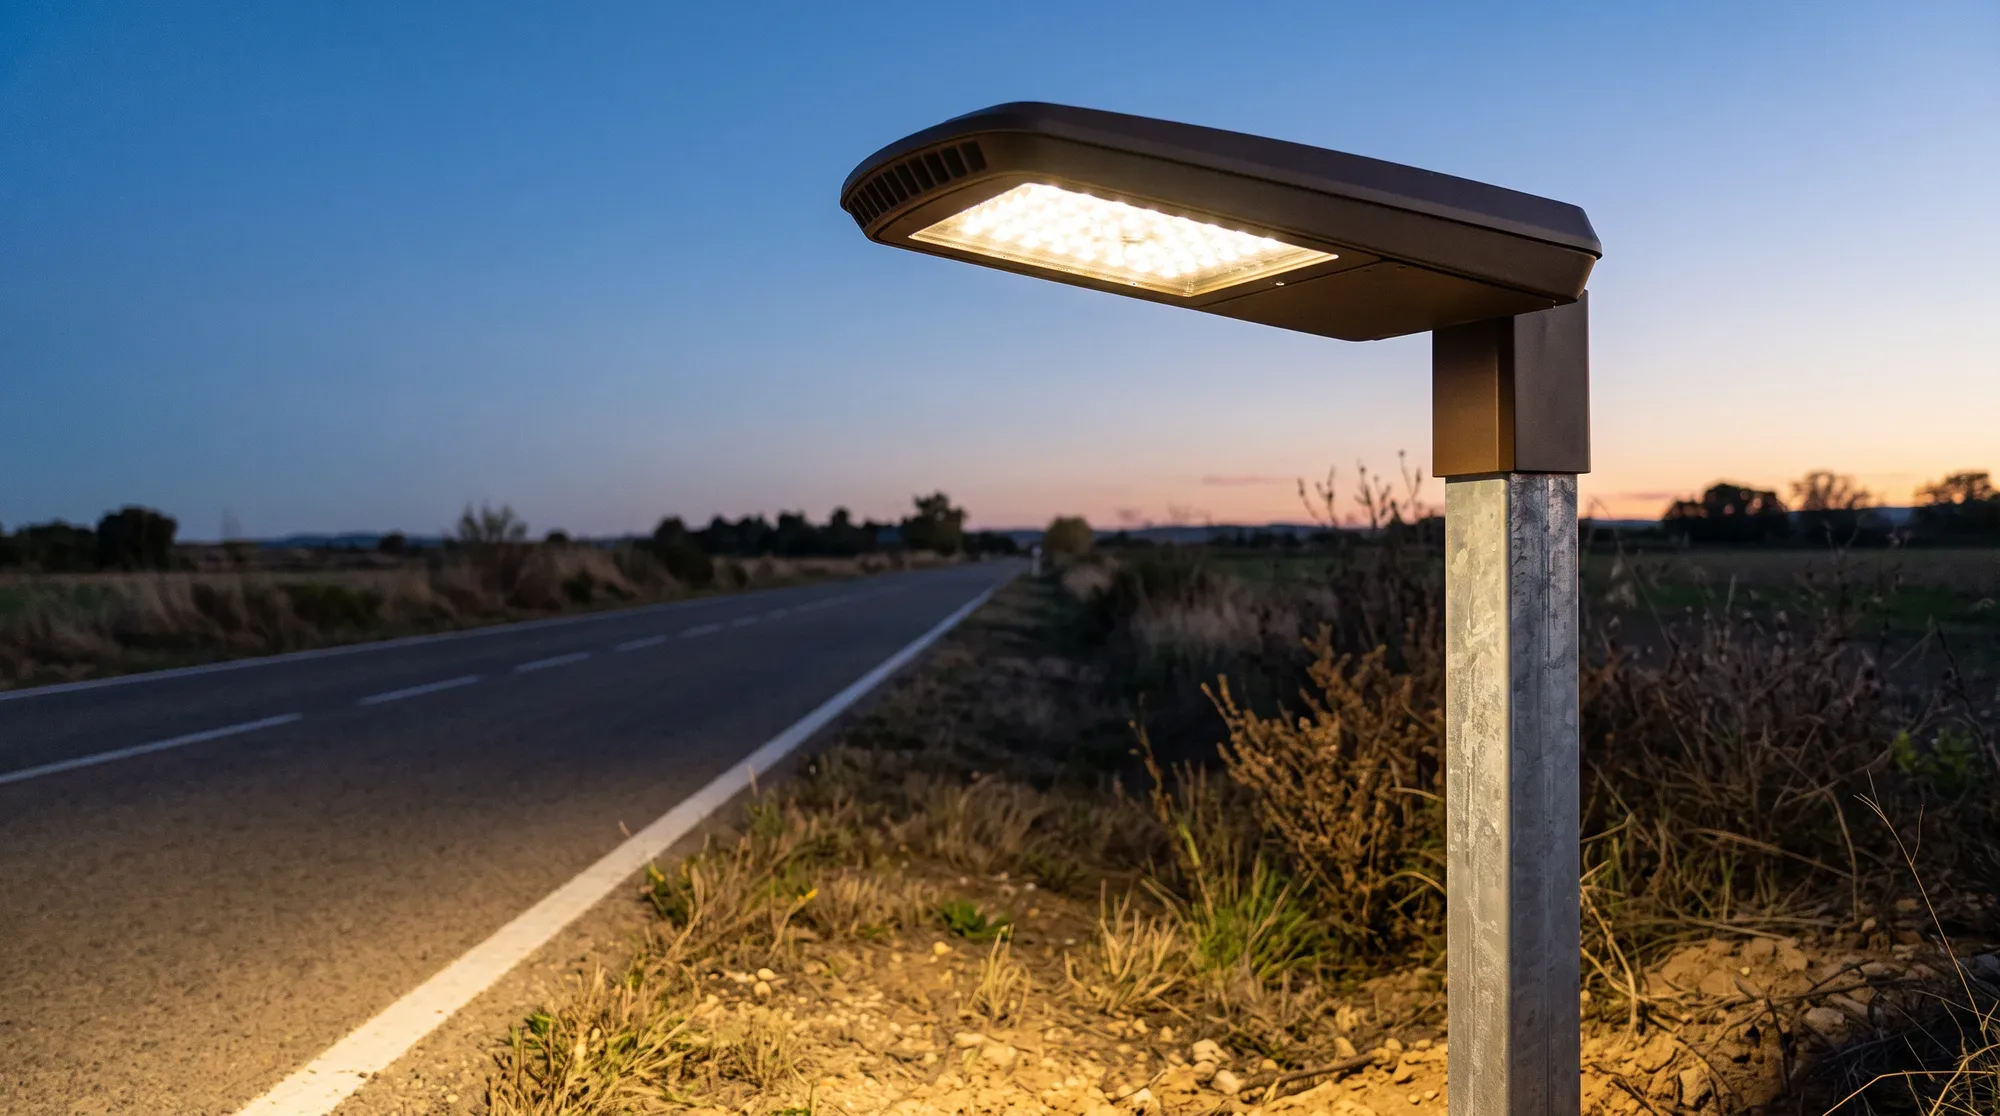
What is lit
The carriageway is the starting point, not the only one. Junctions, slip roads, changes of gradient and accesses determine where light is needed and how it should be spread.
The verges matter too: hard shoulders, footways and the paths running alongside. Lighting only the centre of the carriageway leaves the edges unresolved.
What the project decides
The alignment and cross-section set the rules. Width, central reservation, kerb lines and obstacles define where lighting points can go and how light is aimed.
Uses, operating hours and maintenance come next. A solution that is hard to inspect or replace weighs more than any last-minute adjustment.
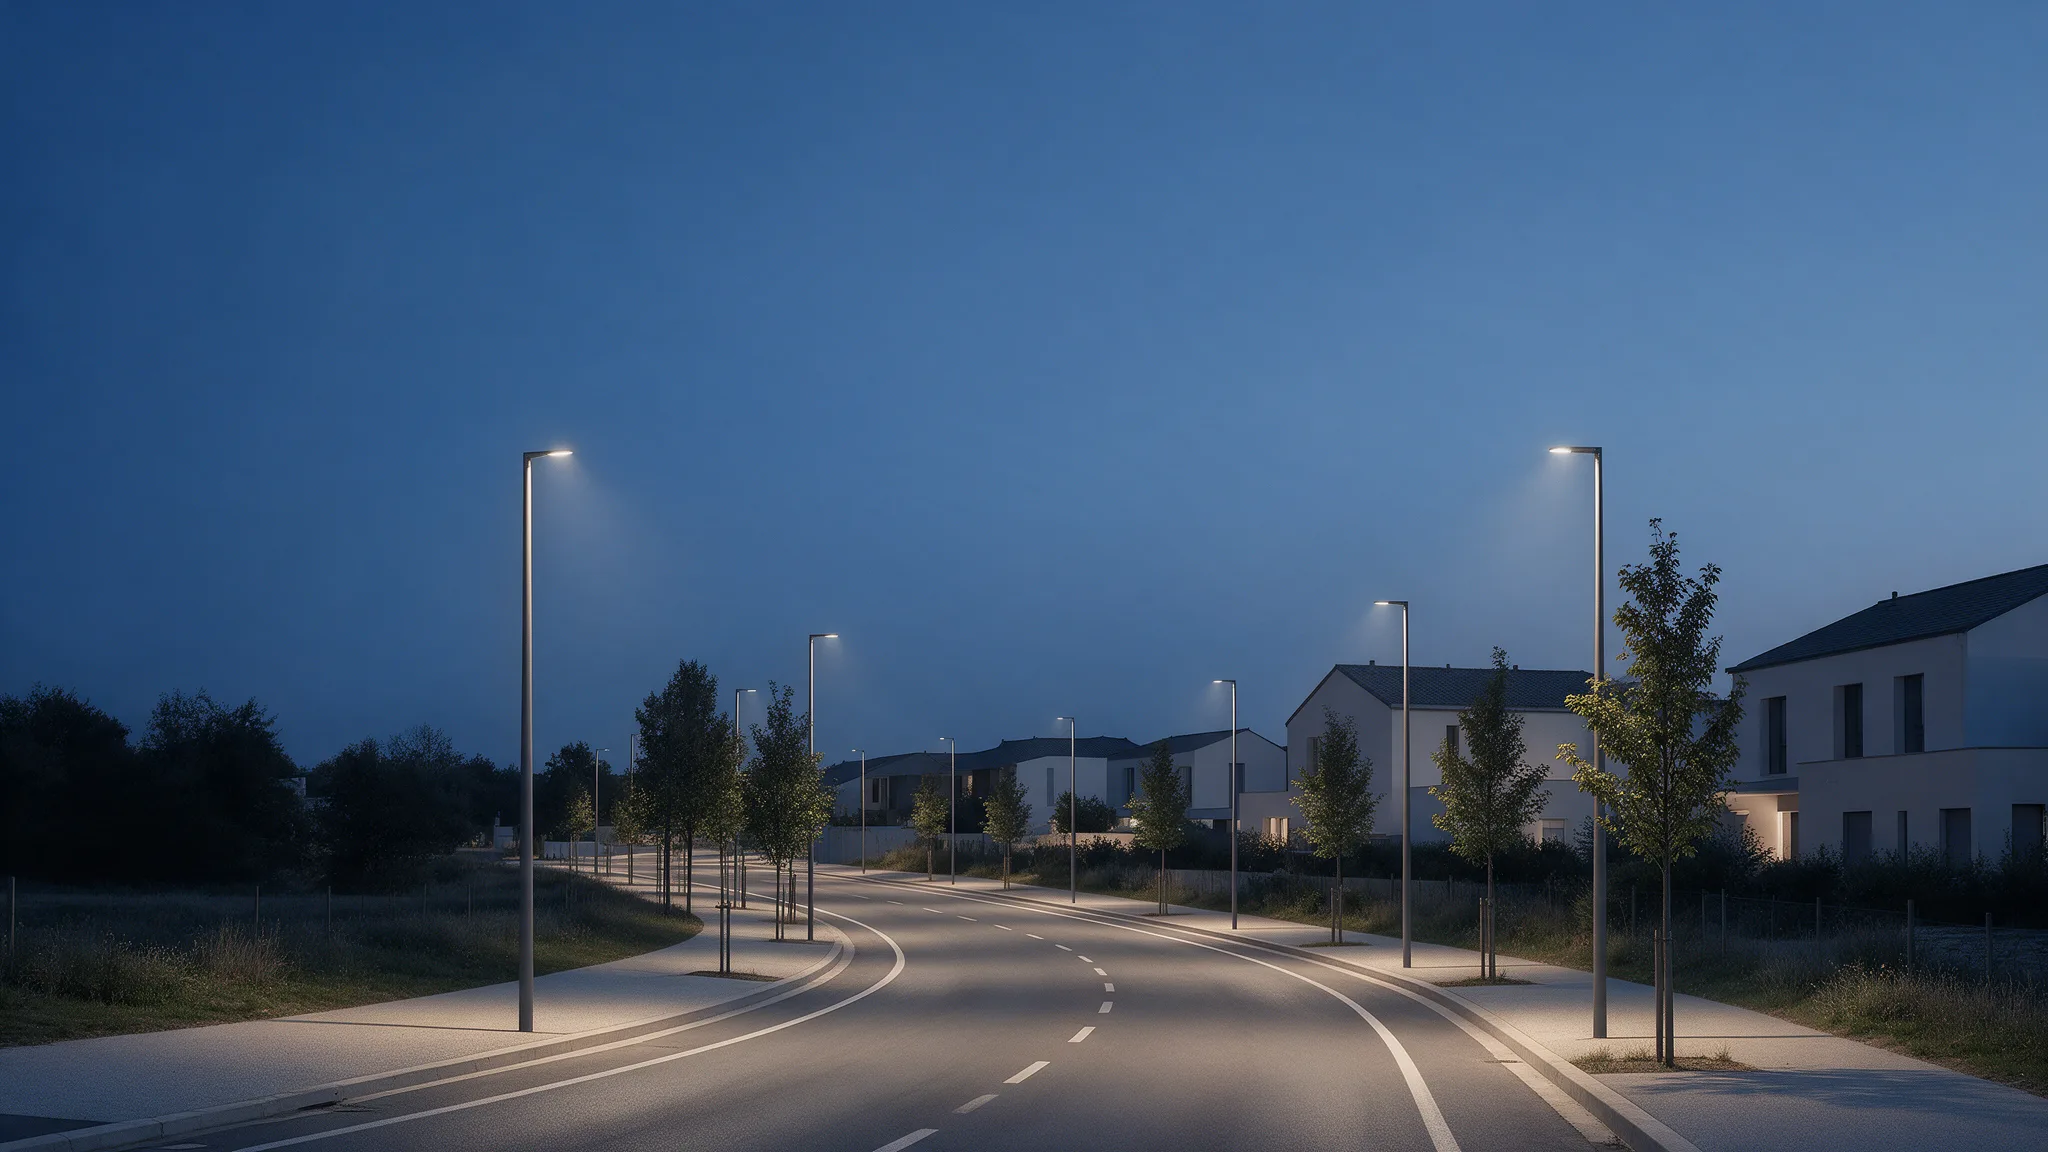
Light changes with the road section: an open stretch is not the same as a junction or a slip road.
How it is approached
The context is gathered first: a plan or sketch, intended uses, known constraints and the condition of any existing installation. Alternatives are then compared and taken through the checks the project requires.
The conversation starts before a solution is fixed. Comparing scenarios and reviewing what each implies avoids decisions that cannot be corrected without works.
What to avoid
- Lighting the whole platform out of habit, settling the project on an image and closing it without a maintenance plan are the three most expensive shortcuts.
- An illustrative visual is not a study. If the project needs defined levels, geometry and limits, they have to be requested and reviewed before deciding.
From the catalogue to the road.
Real Tualuce catalogue pages. The choice is defined with the project’s technical team.
Your site. Its uses. The starting point.
Local authorities, lighting consultants and developers: explore Tualuce’s solutions and project support to prepare your lighting brief.
Context, plan and uses
Gather the site context, an available plan and the uses that need to be considered.
Lighting criteria
Set out routes, surroundings, operating hours and comfort expectations to examine.
Solutions to validate
Compare possible directions and take them through the necessary project validations before deciding.
Frequently asked questions
What information should we gather to start?
A plan or sketch of the road, intended uses, accesses and the constraints already known. If an installation exists, its condition and maintenance points as well.
Can it be planned for an existing road?
Yes, starting from the existing installation and its constraints on access, supports and maintenance. Feasibility and the solution are defined case by case.
What is the difference between a visual and a study?
A visual illustrates an idea. A study starts from calculation assumptions, a geometry, criteria and the limits of the area analysed, and can be reviewed.
From plan to solution
Tualuce brings together the solutions and the support to prepare the lighting project for your road.
Explore Tualuce solutions